

DIY: Curl Your Lashes Like a Boss
- Quon's Eyes
- May 9, 2020
- 2 min read
Updated: May 23, 2020

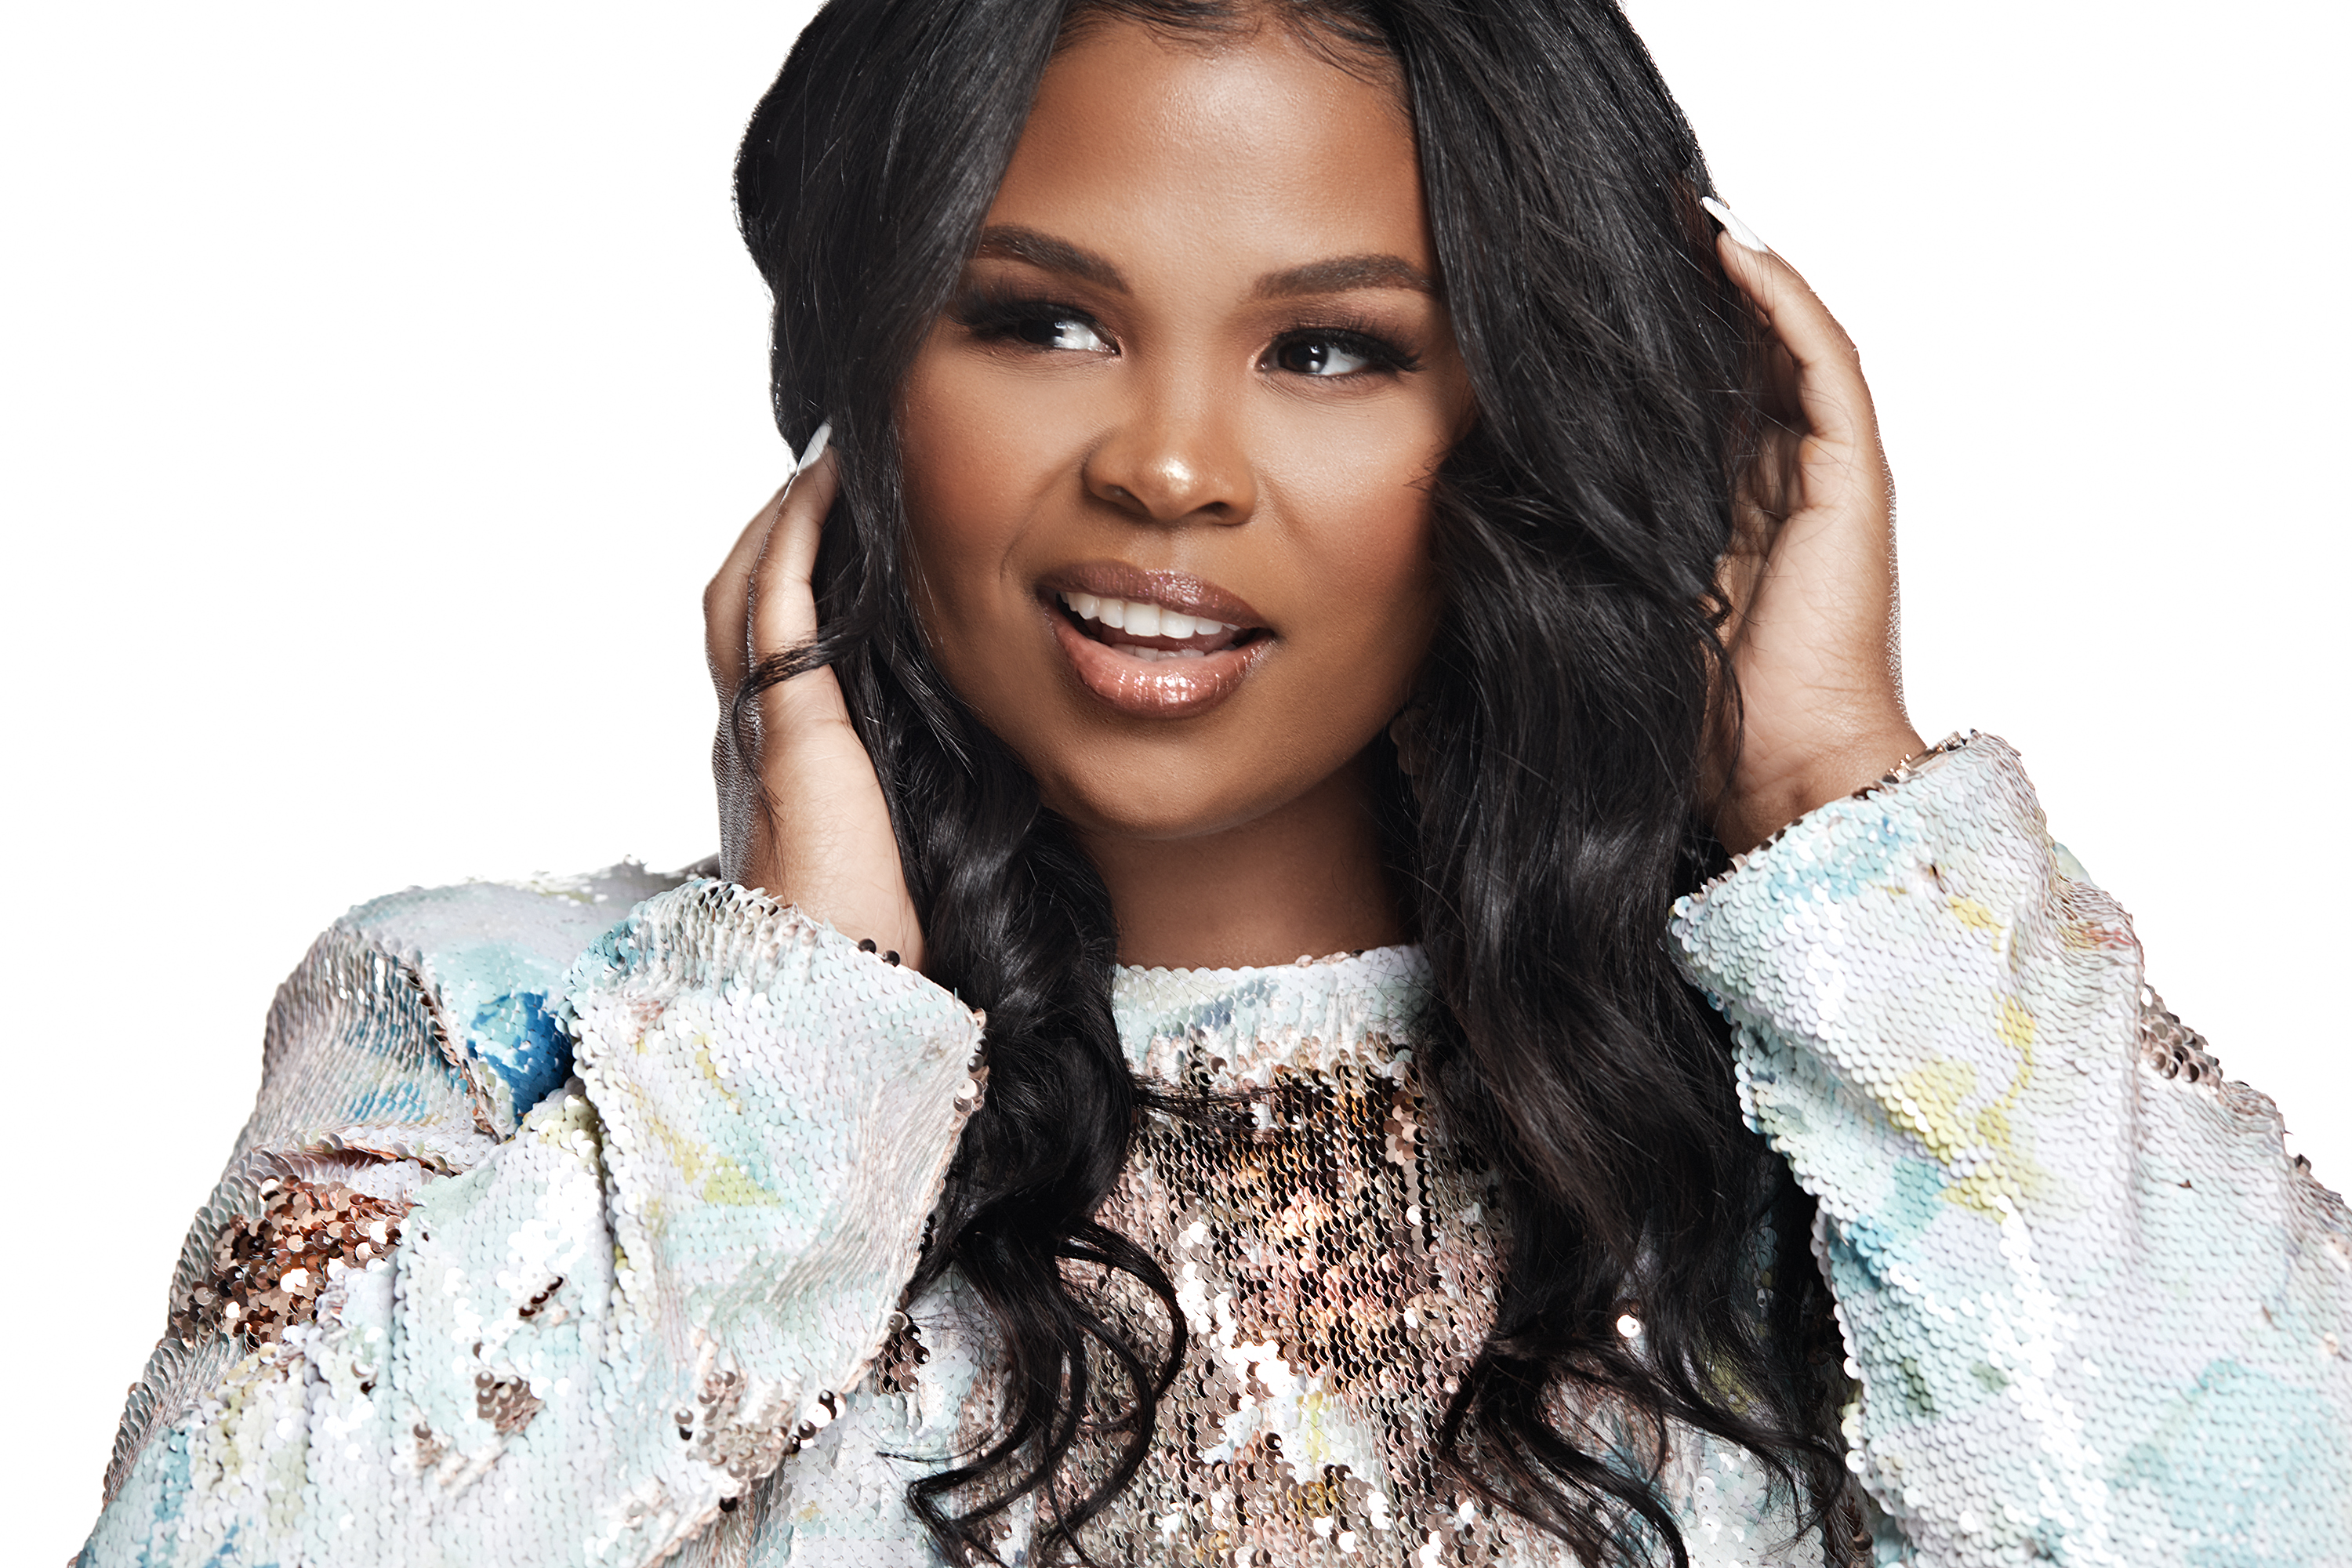
Model: Caylein Utley (Follow @caylein_utley on Instagram)
Makeup Artist & Photographer: Quon Wilson (Follow @cis4contour on Instagram)
Featured Lash: Rendezvous
Curling your eyelashes for the first time…or the first few times can be pretty intimidating but we promise this is something you can master!
Step One: Begin With The Right Tools
All lash curlers are not created equally. Invest in an affordable and high-quality lash curler that will provide you with optimum control and balance when curling your lashes.
I highly recommend Tweezerman’s ProMaster Lash Curler. This $22 lash curler features a 38°angle design for almond-shaped and deep-set eyes. It also features an extra-wide opening that will allow you to easily capture all of your lashes when curling.
Step Two: Hit Those Angles
When curling your lashes keep your chin up and tilt your head back to create the best angle for the most successful curl.
Open your eyes wide and center your open lash curler with the center of your lash line.

Step Three: Get To The Root
While it may be scary to have your lash curler so close to your eyes, you want to position your lash curler at the base of your false lashes and natural lashes without, pinching your skin.
Before squeezing down to close the mouth of your lash curler, gently close your lash curler to see if it touches your skin. If it does, readjust the position of your lash curler until you are positioned at the base of your lashes (without pinching your skin).
With the curler pad placed at the base of your lash line, hold handles firmly and gently, then squeeze.
Hold your lash curler in place for 5-8 seconds and slowly open the lash curler to release the lashes.
If you don’t achieve your desired curl after the first curl, curl again.
Pro Tip: For a more intense lash curl (on natural lashes only) repeat curl technique up the length of your lash from base to tip.
Step Four: Apply Mascara
Finish your freshly curled lashes with your mascara of choice.
Mascara should always be applied after you curl your lashes and not before. Applying mascara and then curling your lashes will cause your lashes to stick together and make them more susceptible to damage.
Step Five: Clean Your Lash Curler
Keep your lash curler ready for the next use by washing your lash curler with warm soap and water or wiping your lash curler down with an alcohol wipe. As you clean your lash curler inspect your rubber pads for signs of wear and tear. Your rubber pads should be changed every three months or at the visible sign of wear.
Until next time beauties, Command the Room, Period!


Comments